Все амулеты в Fatal Frame 2: Crimson Butterfly — эффекты и места нахождения
В Fatal Frame 2: Crimson Butterfly Remake во время исследования проклятой деревни можно находить амулеты. Это особые безделушки и кристаллы, которые усиливают ваши способности или помогают защититься от атак. Каждый амулет обладает уникальным эффектом: от увеличения урона при фотографировании нескольких призраков одновременно до уменьшения количества некоторых духов.
Если вы ищете конкретный амулет, то здесь вы найдёте всю необходимую информацию об их эффектах и местах нахождения в Fatal Frame 2: Crimson Butterfly.
Содержание:
Все эффекты амулетов и их расположение
В Fatal Frame 2: Crimson Butterfly существует множество амулетов, каждый из которых обладает уникальным эффектом, который можно добавить в свой набор. Некоторые из них, будучи экипированы в финальной главе, могут даже привести к новой концовке.
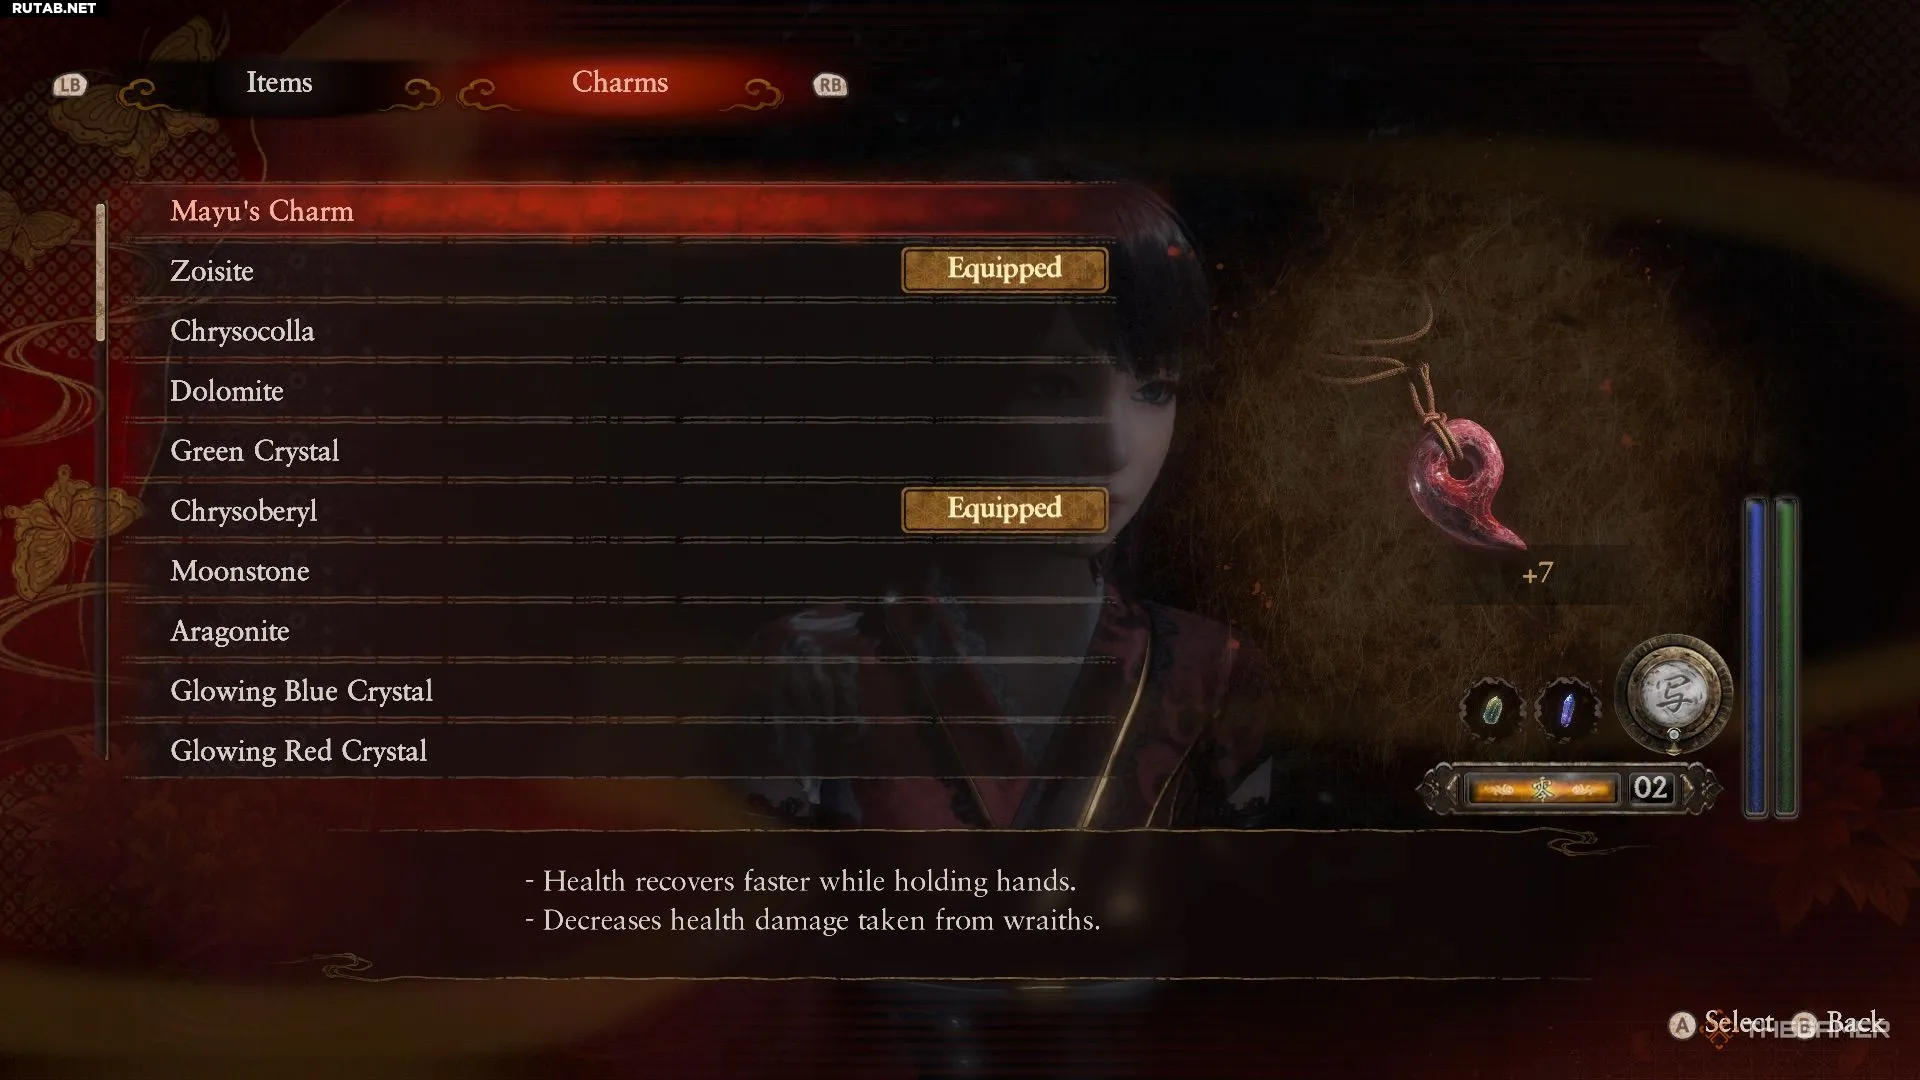
Чтобы экипировать амулет, откройте меню, перейдите в раздел «Предметы», а затем выберите «Амулеты». Вы можете улучшить слоты для амулетов, чтобы увеличить их количество и иметь доступ к нескольким слотам одновременно. Это помогает в геймплее, позволяя использовать несколько амулетов сразу.
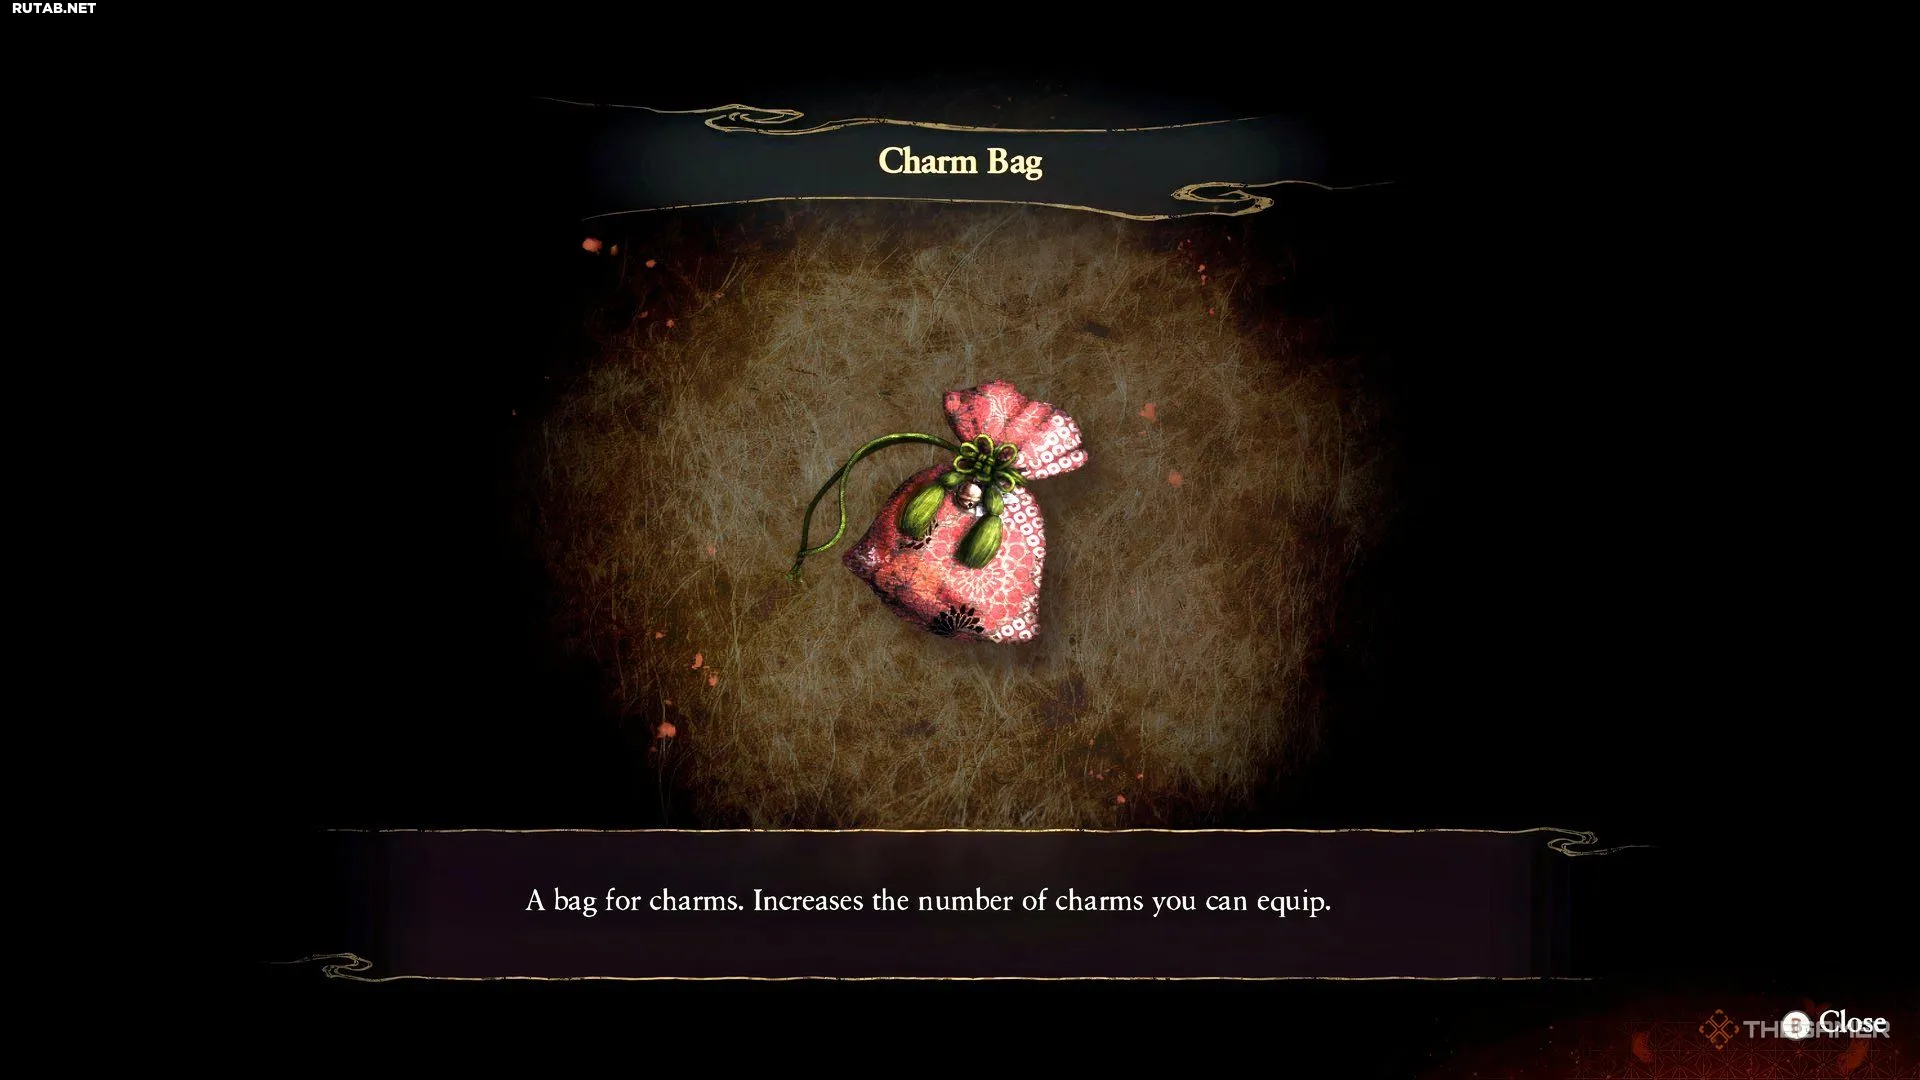
Вы можете приобрести до трёх сумок для амулетов в Обменнике очков по 100 000 очков каждая.
Новые амулеты открываются по мере игры: их можно найти во время исследования, получить за выполнение побочных историй или разблокировать в Обменнике очков у Фонарей-бабочек.
| Амулет | Место получения | Эффект |
|---|---|---|
| Амулет призрака | Выдаётся в начале игры | Увеличивает окно Фатального времени. Повышает шанс встречи с определёнными призраками. |
| Амулет духа | Выдаётся в начале игры | Уменьшает расход воли при уклонении. Уменьшает расход воли при беге. |
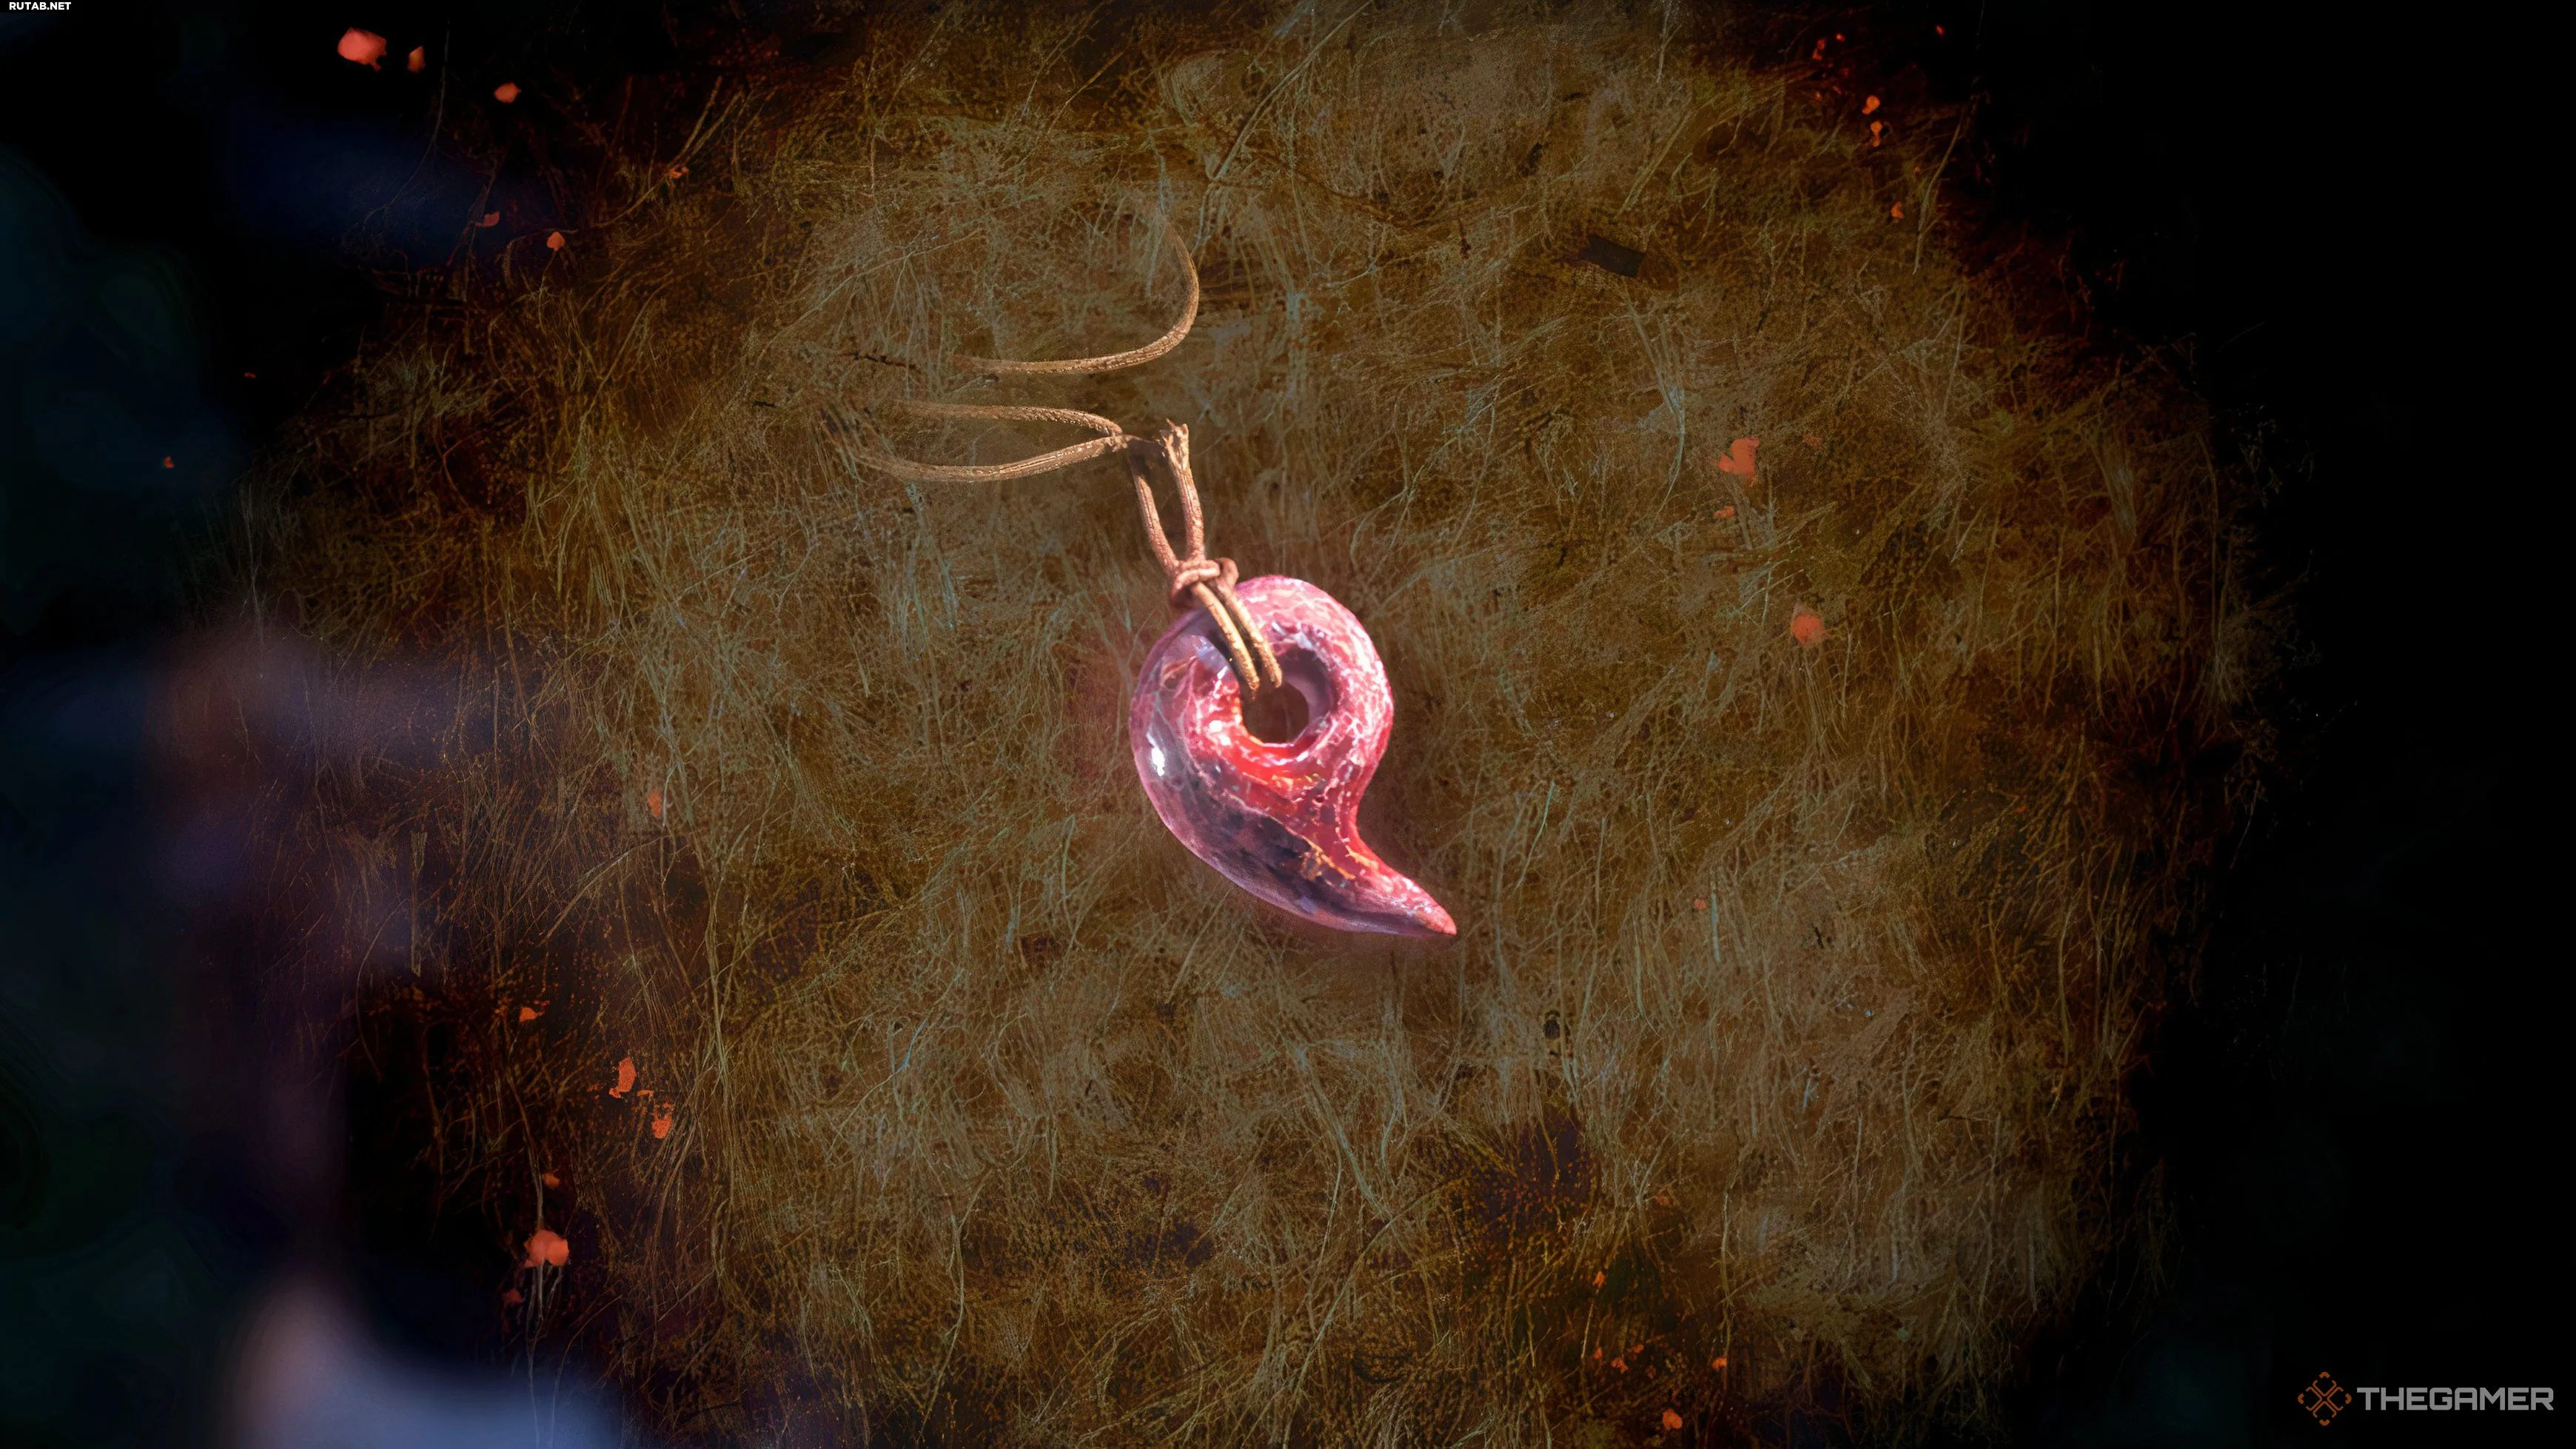
| Амулет Маю | Находится при использовании радио с Камнем духа в Главе 2 | Здоровье восстанавливается быстрее, когда держитесь за руки. Уменьшает урон по здоровью от призраков. |
| Ослепляющий амулет | Обмен очков | Увеличивает длительность ослепления. |
| Парацептуальный амулет | Обмен очков | Увеличивает урон, наносимый Парацептуальным фильтром. |
| Амулет пейзажа | Обмен очков | Камера фокусируется на всём кадре при съёмке пейзажей. |
| Лунный камень | В Окунохаре, где вы подбираете Левый осколок ключа Кидзо | Увеличивает окно для выполнения уклонения. Уменьшает количество воли, необходимой для Особых снимков. |
| Светящийся голубой кристалл | Святилище Курэха | Уменьшает урон от дальних атак. Уменьшает урон по воле от призраков. |
| Зелёный кристалл | Территория дома Курокавы | Увеличивает урон, наносимый Парацептуальным фильтром. Восстанавливает здоровье при нанесении урона. |
| Светящийся зелёный кристалл | Земляной проход дома Курокавы | Увеличивает урон, наносимый Фильтром экспозиции. Призраков не так легко разозлить. |
| Тускло светящийся кристалл | Земляной проход дома Курокавы | Увеличивает скорость передвижения с поднятой камерой. Увеличивает урон, наносимый Стандартным фильтром. |
| Амулет загнанной в угол | Обмен очков | Чем меньше HP у Мио, тем больше урона она наносит. |
| Амулет чудесного спасения | Обмен очков | Иногда оставляет 1 HP, когда вы должны были умереть. |
| Замедляющий амулет | Обмен очков | Увеличивает длительность эффекта Замедления. |
| Амулет экспозиции | Обмен очков | Увеличивает урон, наносимый Фильтром экспозиции. |
| Сияющий амулет | Обмен очков | Увеличивает урон, наносимый Сияющим фильтром. |
| Светящийся красный амулет | Комната алтаря в доме Курокавы | Призраков не так легко разозлить. Уменьшает расход воли при уклонении. |
| Флюорит | Найден после возвращения из дома Курокавы, рядом с хранилищем деревни Минасима | Уменьшает расход воли при уклонении. Здоровье восстанавливается быстрее, когда держитесь за руки. |
| Цоизит | Веринда сада дома Осаки | Увеличивает урон, наносимый Стандартным фильтром. Увеличивает урон при съёмке нескольких призраков. |
| Амулет уклонения | Обмен очков | Увеличивает окно для выполнения уклонения. |
| Амулет автозарядки | Обмен очков | Уменьшает время перезарядки после фотоснимка. |
| Амулет истощения воли | Обмен очков | Увеличивает количество восстанавливаемой воли при съёмке призрака. |
| Стандартный амулет | Обмен очков | Увеличивает урон, наносимый Стандартным фильтром. |
| Светящийся фиолетовый кристалл | Найден в сундуке в заброшенном здании на пути Осака-Тачибана | Увеличивает урон, наносимый Скрытными снимками. Увеличивает дальность видимости предметов. |
| Доломит | Дом Кирю | Повышает шанс встречи с определёнными призраками. Увеличивает урон, наносимый Сияющим фильтром. |
| Сподумен | Дом Кирю | Увеличивает дистанцию между вами и призраками после того, как вы оторвались от них. Уменьшает время перезарядки после фотоснимка. |
| Амулет восстановления воли | Обмен очков | Воля восстанавливается быстрее. |
| Амулет защиты от дальних атак | Обмен очков | Уменьшает урон от дальних атак. |
| Амулет режима очереди | Обмен очков | Увеличивает урон при съёмке нескольких призраков. |
| Хризоберилл | Найден после исследования дома Тачибана на Небесном мосту | Уменьшает шанс встречи с определёнными призраками. Увеличивает дистанцию между вами и призраком, от которого вы оторвались. |
| Амулет защиты воли | Обмен очков | Уменьшает урон по воле от призраков. |
| Амулет съёмки Маю | Обмен очков | Увеличивает урон при одновременной съёмке призрака и Маю. |
| Амулет скорости | Обмен очков | Увеличивает скорость передвижения с поднятой камерой. |
| Защитный амулет от зла | Обмен очков | Уменьшает шанс встречи с определёнными призраками. |
| Красный крапчатый кристалл | Дом Тачибана, комната Ицзуки | Восстанавливает здоровье при нанесении урона. Уменьшает шанс встречи с определёнными призраками. |
| Амулет воли (Особый снимок) | Обмен очков | Уменьшает количество воли, необходимой для Особых снимков. |
| Амулет восстановления HP | Обмен очков | Увеличивает количество здоровья, восстанавливаемого Травяным лекарством. |
| Лазурит | Теневой Курган | Увеличивает скорость передвижения с поднятой камерой. Автоматический поворот лицом к призракам при поднятии камеры. |
| Амулет предотвращения агрессии | Обмен очков | Призраков не так легко разозлить. |
| Амулет единения | Обмен очков | Здоровье восстанавливается быстрее, когда держитесь за руки. |
| Амулет пронзающей агрессии | Обмен очков | Увеличивает урон разозлённым духам. |
| Фосфофиллит | Холм Мисоно | Призракам труднее вас заметить. Если вас атакуют с опущенной камерой, вы уклоняетесь автоматически. |
| Светящийся жёлтый кристалл | Глубокий путь | Уменьшает урон по здоровью от призраков. Иногда оставляет 1 HP, когда вы должны были умереть. |
| Хризоколла | Дом Курокавы на Соединительных путях | Увеличивает урон при съёмке нескольких призраков. Увеличивает урон разозлённым духам. |
| Ядро кристалла | Хранилище деревни Минаками | Увеличивает длительность эффекта Замедления. Уменьшает урон от дальних атак. |
| Чёрное ядро кристалла | Хранилище деревни Минаками | Увеличивает длительность эффекта Ошеломления. Увеличивает окно для выполнения уклонения. |
| Тускло светящийся кристалл | Под домами Тачибана и Кирю вдоль Глубокого пути | Уменьшает урон по воле от призраков. Увеличивает окно Фатального времени. |
| Сард | Веринда дома Осаки | Увеличивает окно Фатального времени. Увеличивает урон от Скрытных снимков. |
| Пренит | Комната алтаря в доме Курокавы | Иногда оставляет 1 HP, когда вы должны были умереть. Воля восстанавливается быстрее. |
| Арагонит | Дом Осаки | Увеличивает урон, наносимый Сияющим фильтром. Уменьшает расход воли при беге. |
| Гранат | Храм Эйкадо | Увеличивает дальность видимости предметов. Увеличивает количество здоровья, восстанавливаемого Травяным лекарством. |
| Бледно-малиновый кристалл | Кладбище | Призракам труднее вас услышать. Призракам труднее вас заметить. |
| Синий кристалл | Дом Кирю | Позволяет услышать голоса Кукол-близнецов. |
| Исчезающий амулет | Обмен очков | Призракам труднее вас заметить. |
| Амулет бесшумных шагов | Обмен очков | Призракам труднее вас услышать. |
| Сверкающий амулет Яэ | 1 осколок за первое прохождение игры. 1 осколок за прохождение Новой игры+ и завершение Побочной истории Яэ. |
Содержит силу изменить грядущее, если надеть его в месте ритуала. |
| Сверкающий камень души Кусаби | 1 осколок за первое прохождение игры на нормальной сложности. 1 осколок за прохождение Новой игры+ и завершение Побочной истории Яэ. |
Содержит силу изменить грядущее, если надеть его в месте ритуала. |
| Сверкающий камень души Саэ | 1 осколок за прохождение игры в Новой игры+ с использованием Сверкающего камня души Яэ и достижение концовки "Обещание". 1 осколок за завершение Побочной истории Саэ в Новой игре+. |
Наденьте его вместе со Сверкающим камнем Маю, чтобы обрести силу изменить грядущее. |
| Сверкающий камень души Маю | 1 осколок за первое прохождение игры. 1 осколок за прохождение Новой игры+ с экипированным Камнем души Кусаби. |
Наденьте его вместе со Сверкающим камнем Саэ, чтобы обрести силу изменить грядущее. |
| Сверкающий камень души Мио | Завершите все побочные истории, чтобы получить 1 осколок Камня души Мио и концовку "Распускающиеся крылья". Ещё один осколок можно найти в Новой игре+, дождавшись подсказки идти на холм Мисоно, где можно увидеть юных Мио и Маю, держащихся за руки. Осколок камня появится на земле. |
Содержит силу изменить грядущее, если надеть его в месте ритуала. |


0 комментариев